Последователи

вторник, 13 август 2013 г.

How to remove glitter polish... the easy way with "Easy peel off base boat" by Etude House.

Hello, ladies!
Today I want to introduce to you a really amazing product again by my new favorite brad “Etude House”!
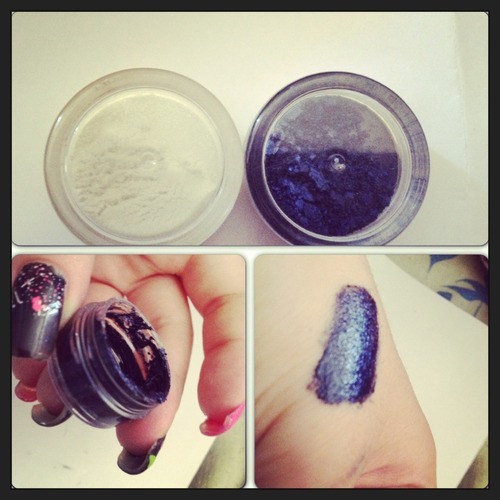
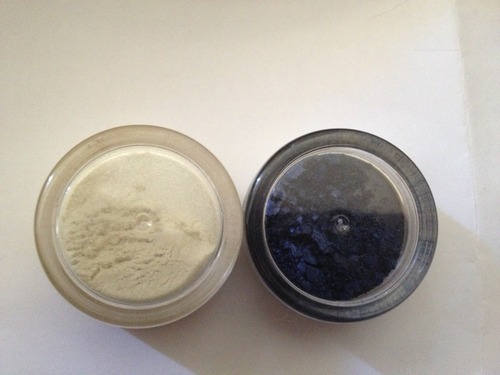
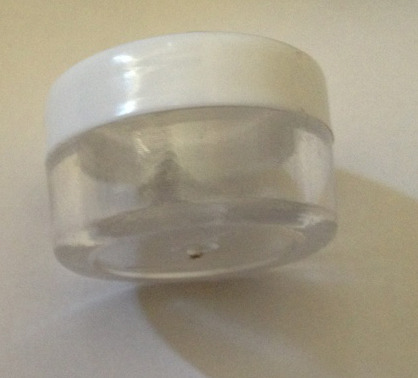
It’s a nail polish base for glitter nail polish called "Easy peel off base coat".
What’s the big deal about it you ask? Well… you do know how hard is to get glitter nail polish of your nails every time and you spend a generous amount of time getting that glitter off and even damaging your nails.
Well this product you apply first on your nail and then comes the glitter. And all you have to do to get the glitter off is to peel it off. It’s really easy. 
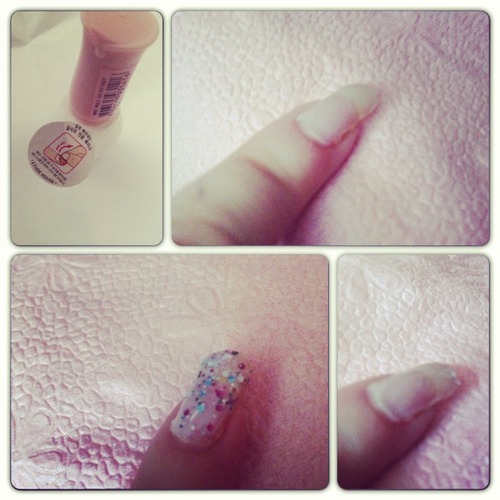
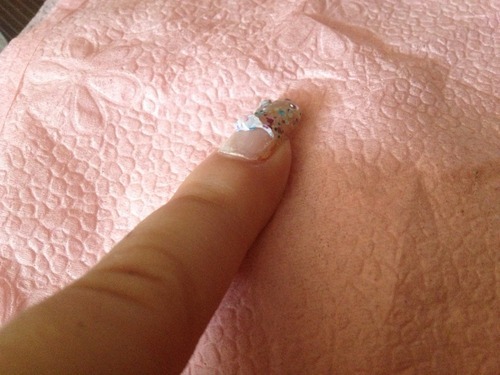
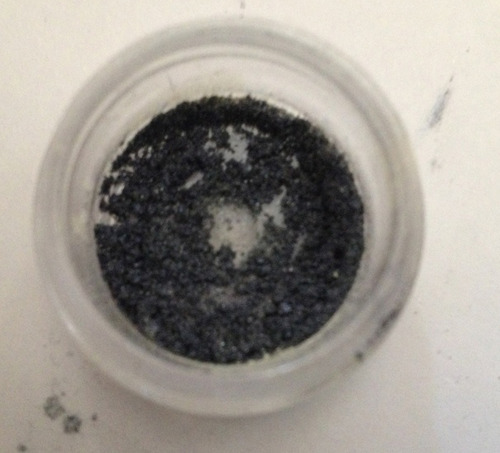
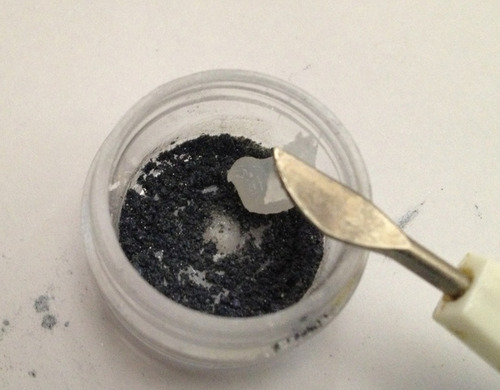
Here is a “tutorial” on it. I’m very sorry for the bad picture quality:
 
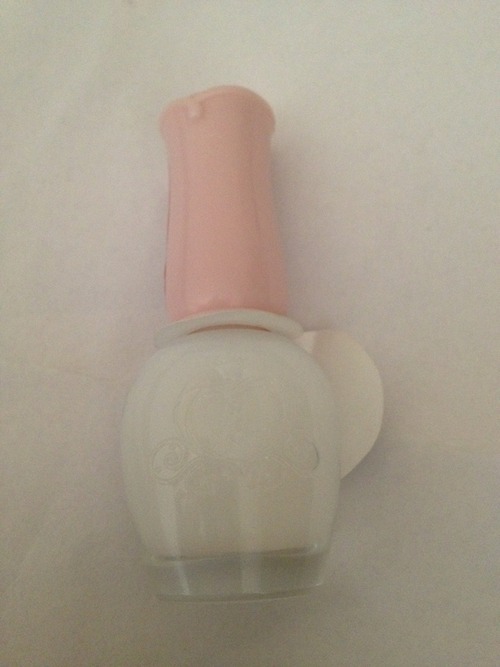
1.      1. Apply the “Easy Peel off Base coat” on your nails.
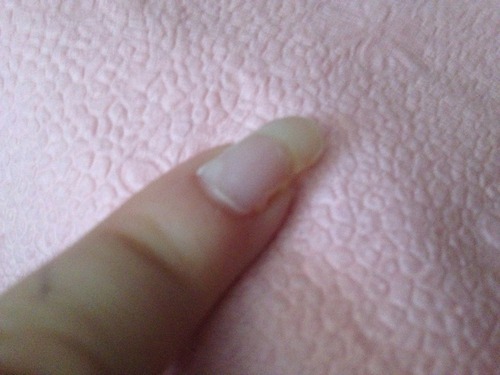
2.      2. Wait for it to dry.
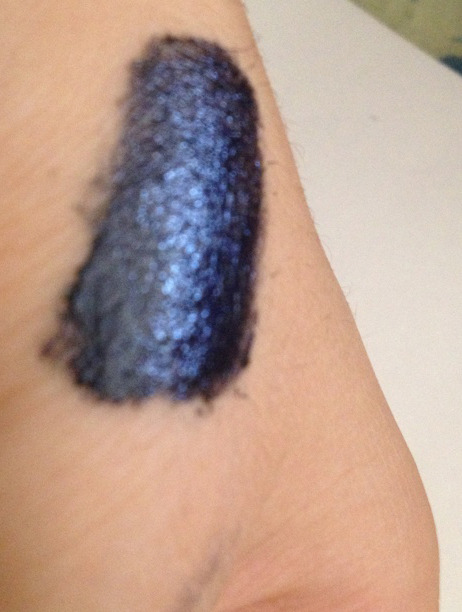
3.      2. Apply the glitter nail polish.


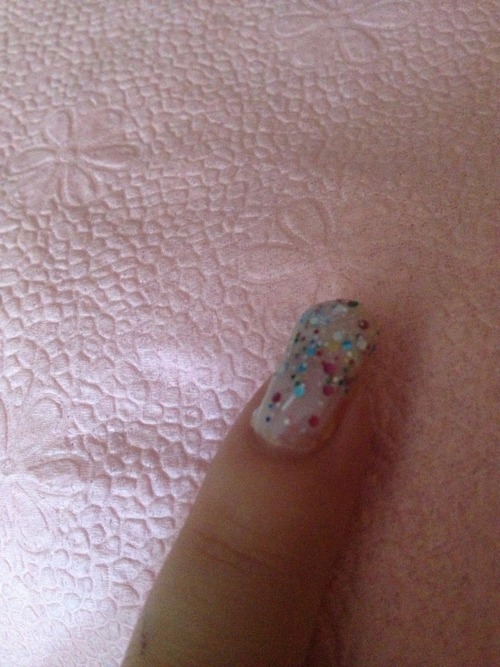
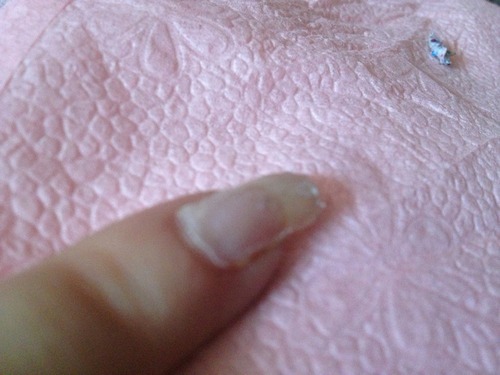
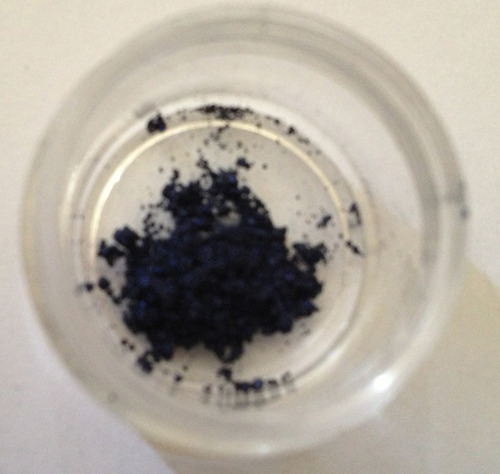
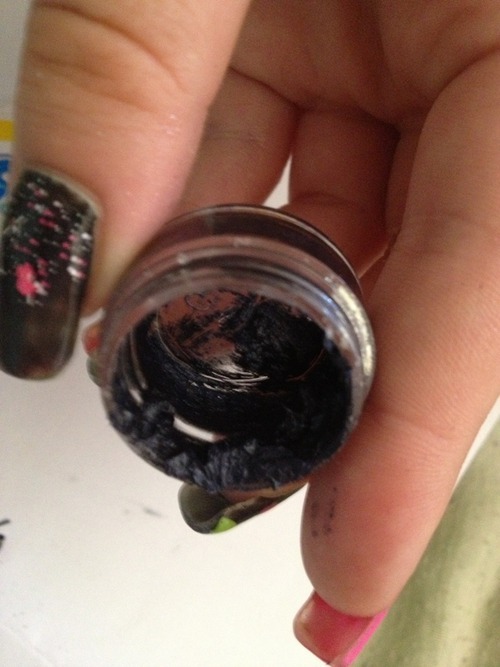
And this is how it peeled off (again bad picture) If you have some base polish left just clean it off with some nail polish remover:

It costs less than 5$ on ebay. I think this is a good price and it’s way better to spend this money than wasting your nail polish remover, damage your nails and be afraid of using glitter.

Well I don’t really know what to say more, than… try it. I got this, tested it and I love “Etude House”.

Love, Perry! 

неделя, 11 август 2013 г.

How to make your own cream eyeshadow!

Hey, guys!
Today I’m going to tell you about an easy and popular way to make your own cream products.
In this article I’ll be showing you how to make cream eyeshadow.

What will you need?
-         1.  Some pigments or powder eyeshadow. You can even scrape some eyeshadow of a palette if you want to. The main point is that you must have a powder product.
I used these two pigments “Midnight blue” and “Bridal Glow” by Z!NK. There are really beautiful and very pigmentated. I used the “Bridal Glow” because I wanted to add some softness.
-          2. A small jar in which to mix your products.
-          3.Vaseline.
-          4. A tool to help you with the mixing.
 
The process:

First of all I took the small jar and with the help of my mixing tool (which is actually used for manicure purposes but oh well) I placed some of the blue pigment in it. I prefer using small amounts, because products with Vaseline do not tend to last long.  Better make more when this is over.

Next I added some of the white pigment and mixed them up. Again I repeat this is not necessary.  
 
Next I took a small amount of the Vaseline. I added just a little at first. Better add less and them put more. After all it’s easier to add then to remove from this.
I mixed them up until I got a homogeneous mixture. Since I added  little products this is how it looks:

And the final result:
 
You can use this method to mix any kind of colors and create your own beautiful colors. With these steps you can also make your own cream blush.
Hope you liked this article. Have a wonderful day and follow my blog for more fun ideas and advice!
Love, Perry! 

петък, 9 август 2013 г.

Holika Holika "Midnight Owl" Highlighter revue!

Hey, ladies!
Today I would like to introduce to you a personal favorite product of mine: “Holika Holika”- “Midnight Owl highlighter”.
There are two kinds:

Holika Holika “Midnight owl” #1 Shining Owl (the picture is made by me)

Holika Holika “Midnight owl” #2 Shy owl (the picture is from google)
My mother bought me as a gift #1 Shining Owl.
First of all I would say that the way this product looks is simply amazing. This here is the main box, which looks very attractive and makes you think that there is something really interesting inside.
 
After you pull out the actual highlighter box you see that it’s black and also with a beautiful design.
But when you open the box that is when the real surprise comes. You see a small highlighter brush and under is the highlighter. It looks so very cute and beautiful. The texture is so pretty that you are really scared  to touch it , not to ruin it.
 
The pictures from this post are from today. I received this highlighter about two months ago and I’ve been using it regularly and it still looks brand new.
The thing is that for a beautiful glowing effect you don’t need a lot of the product. You just lightly sway over it with the brush and apply to your cheek bones. The effect according to me is wonderful.
This is how it looks applied to my hand for better view for you. Also here is a picture of my makeup with the highlighter on my cheeks.

But I would also like to add that this highlighter has a more… shining effect. I would recommend for you to use it when doing your evening makeup, when going to a party or a club. It’s not that appropriate for everyday makeup.
But if you have a special even to attend to, this highlighter is a very good final touch for your face.
I must say that it is not very cheap. I think that it is around 22-24$, definitely  more than 20$. But the thing is that it doesn’t end fast. As I mentioned earlier in this post, you just need a light stroke with the brush to get the necessary amount.  The more you add, the more glowing your face would be and you don’t want to look like a disco ball ,so a little is more that good.
I highly recommend this product to all of you and I hope that this article was helpful.
If you have any questions leave them as comments and I’ll answer them. J
Have a nice day.

This article is completely my own opinion and the product was given to me a gift by my family.