Последователи

вторник, 13 август 2013 г.

How to remove glitter polish... the easy way with "Easy peel off base boat" by Etude House.

Hello, ladies!
Today I want to introduce to you a really amazing product again by my new favorite brad “Etude House”!
It’s a nail polish base for glitter nail polish called "Easy peel off base coat".
What’s the big deal about it you ask? Well… you do know how hard is to get glitter nail polish of your nails every time and you spend a generous amount of time getting that glitter off and even damaging your nails.
Well this product you apply first on your nail and then comes the glitter. And all you have to do to get the glitter off is to peel it off. It’s really easy. 
Here is a “tutorial” on it. I’m very sorry for the bad picture quality:
 
1.      1. Apply the “Easy Peel off Base coat” on your nails.
2.      2. Wait for it to dry.
3.      2. Apply the glitter nail polish.


And this is how it peeled off (again bad picture) If you have some base polish left just clean it off with some nail polish remover:

It costs less than 5$ on ebay. I think this is a good price and it’s way better to spend this money than wasting your nail polish remover, damage your nails and be afraid of using glitter.

Well I don’t really know what to say more, than… try it. I got this, tested it and I love “Etude House”.

Love, Perry! 

неделя, 11 август 2013 г.

How to make your own cream eyeshadow!

Hey, guys!
Today I’m going to tell you about an easy and popular way to make your own cream products.
In this article I’ll be showing you how to make cream eyeshadow.

What will you need?
-         1.  Some pigments or powder eyeshadow. You can even scrape some eyeshadow of a palette if you want to. The main point is that you must have a powder product.
I used these two pigments “Midnight blue” and “Bridal Glow” by Z!NK. There are really beautiful and very pigmentated. I used the “Bridal Glow” because I wanted to add some softness.
-          2. A small jar in which to mix your products.
-          3.Vaseline.
-          4. A tool to help you with the mixing.
 
The process:

First of all I took the small jar and with the help of my mixing tool (which is actually used for manicure purposes but oh well) I placed some of the blue pigment in it. I prefer using small amounts, because products with Vaseline do not tend to last long.  Better make more when this is over.

Next I added some of the white pigment and mixed them up. Again I repeat this is not necessary.  
 
Next I took a small amount of the Vaseline. I added just a little at first. Better add less and them put more. After all it’s easier to add then to remove from this.
I mixed them up until I got a homogeneous mixture. Since I added  little products this is how it looks:

And the final result:
 
You can use this method to mix any kind of colors and create your own beautiful colors. With these steps you can also make your own cream blush.
Hope you liked this article. Have a wonderful day and follow my blog for more fun ideas and advice!
Love, Perry! 

петък, 9 август 2013 г.

Holika Holika "Midnight Owl" Highlighter revue!

Hey, ladies!
Today I would like to introduce to you a personal favorite product of mine: “Holika Holika”- “Midnight Owl highlighter”.
There are two kinds:

Holika Holika “Midnight owl” #1 Shining Owl (the picture is made by me)

Holika Holika “Midnight owl” #2 Shy owl (the picture is from google)
My mother bought me as a gift #1 Shining Owl.
First of all I would say that the way this product looks is simply amazing. This here is the main box, which looks very attractive and makes you think that there is something really interesting inside.
 
After you pull out the actual highlighter box you see that it’s black and also with a beautiful design.
But when you open the box that is when the real surprise comes. You see a small highlighter brush and under is the highlighter. It looks so very cute and beautiful. The texture is so pretty that you are really scared  to touch it , not to ruin it.
 
The pictures from this post are from today. I received this highlighter about two months ago and I’ve been using it regularly and it still looks brand new.
The thing is that for a beautiful glowing effect you don’t need a lot of the product. You just lightly sway over it with the brush and apply to your cheek bones. The effect according to me is wonderful.
This is how it looks applied to my hand for better view for you. Also here is a picture of my makeup with the highlighter on my cheeks.

But I would also like to add that this highlighter has a more… shining effect. I would recommend for you to use it when doing your evening makeup, when going to a party or a club. It’s not that appropriate for everyday makeup.
But if you have a special even to attend to, this highlighter is a very good final touch for your face.
I must say that it is not very cheap. I think that it is around 22-24$, definitely  more than 20$. But the thing is that it doesn’t end fast. As I mentioned earlier in this post, you just need a light stroke with the brush to get the necessary amount.  The more you add, the more glowing your face would be and you don’t want to look like a disco ball ,so a little is more that good.
I highly recommend this product to all of you and I hope that this article was helpful.
If you have any questions leave them as comments and I’ll answer them. J
Have a nice day.

This article is completely my own opinion and the product was given to me a gift by my family. 

събота, 27 юли 2013 г.

Cool and fun nail idea!

 Hey, guys! Need something fresh and fun for your manicure?
Today I’m going to show you how to do these nails with the help of this wonderful three piece pack by “Etude House”.
I’ll be using “Kahlua Milk” in brown.
image

image
image

As you see there are three nail polish bottles, each one with a number on top on the bottle cap.

First of all you start of with clean nails.
You take the first nail polish with the number “1” on it. You paint your whole nails with it. Wait until it dries until you move on to step two.
image
image


Second step is to take the nails polish with the number “2” on it. You begin applying it from the middle of the nail upwards. This is what you should have after application.
image
image


The last step if to take this glittery third nail polish. Apply it just at the tip of your nails.The result should be this.
image

image

“Etude House” offers really good cosmetics and nail products. I must say that “Juicy cocktail” if one of the cutest nail polish products I’ve ever seen.
I also have:
“Lime squash”
“Princess Marry”
“Kiss of fire”

The cost around 6$ on ebay. They are pretty, not very expensive and can make your nails look very fresh and pretty. So if you’re looking for a change this is your right choice.
image
image


This post is completely my own opinion and the products were gifts to me by my friends and family! :)

вторник, 11 юни 2013 г.

How to cover up imperfections of the skin!

I bet you’ve been wondering sometimes how some girls have that perfect skin look. You know, the one that makes you think if they are made out of porcelain.
Some people have it natural, but some use makeup. You know that not all of us are blessed with glamorous looking skin and that often is a reason to feel not that great.
If you ask me, the best way to get good skin is to use skin care products and follow small daily procedures that can help you get that goo look. (This will be one of my articles in the near future).  But sometimes we can’t wait, sometimes we need a fast result for a party, a date… and we need to look good.
Well this article will  help you achieve that perfect skin in no time. It takes about 5-7 minutes. 

What you need:
Kabuki Brush
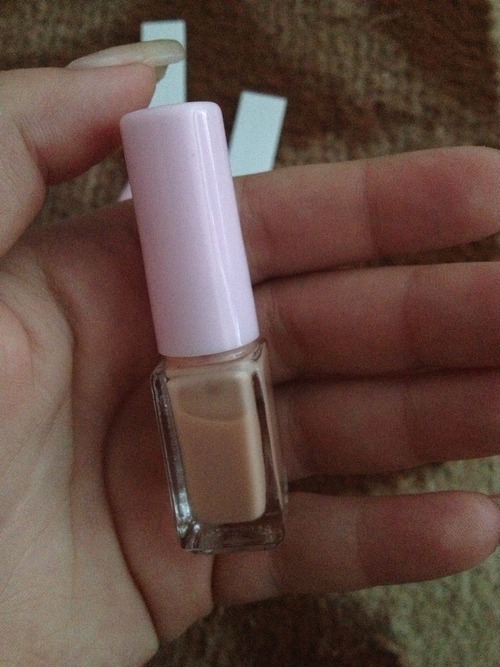
Foundation Primer. (Optional)
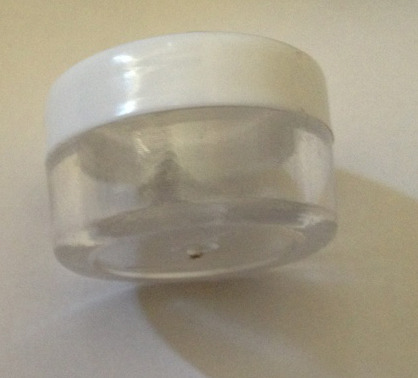
Foundation. (According to your skin color)
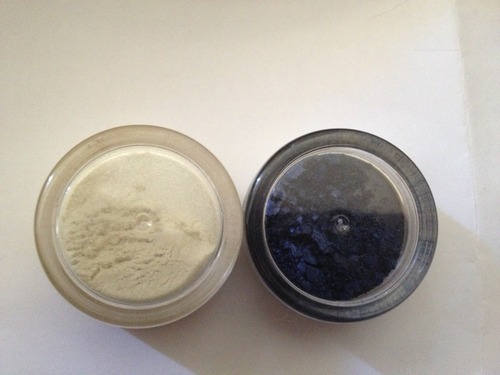
Powder

Step 1:
Apply some skin primer on your brush or you can even use your hands if you feel like it , to add the primer on your face. A primer is used to make the application of the foundation easier and also creates a barrier between the skin and the foundation. It moisturizes the skin and trust me, sometimes it is the key to your good look.

Step 2: 
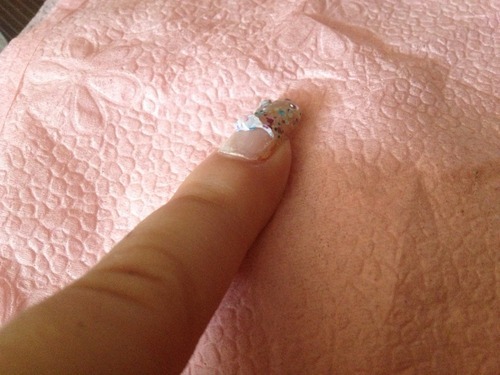
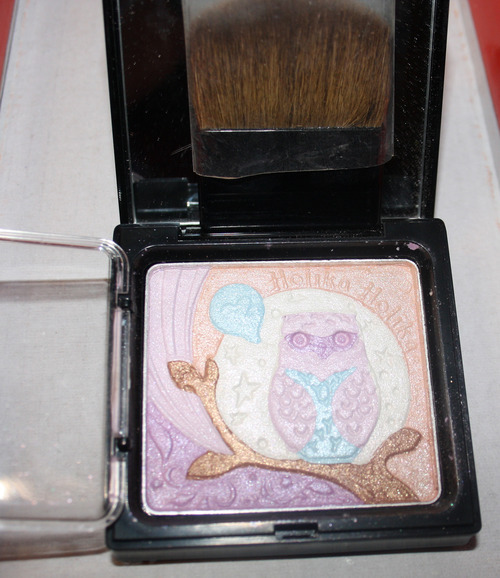
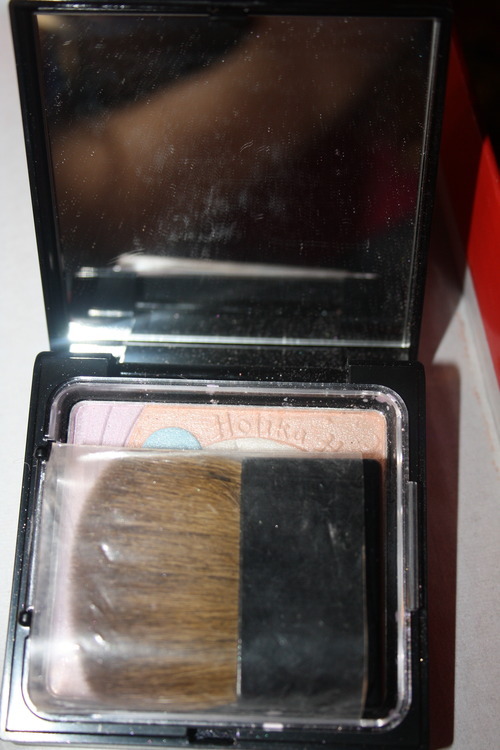
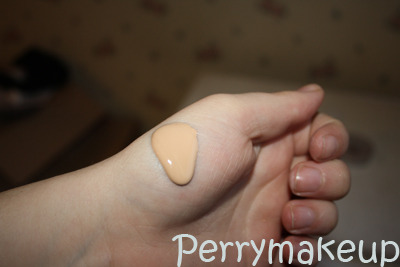
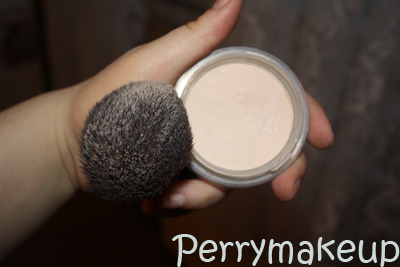
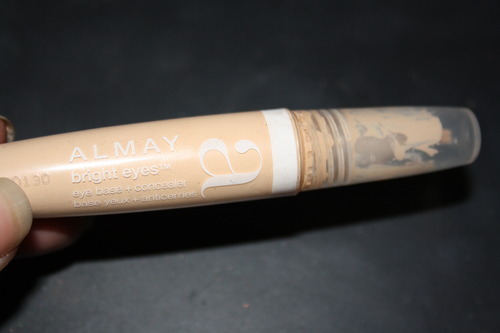
Apply some Foundation to your Kabuki Brush. You can see how I do this in the picture bellow. Try to cover the whole brush with foundation so it’s not only concentrated in just part of it. To apply it on your face gently tap the brush over it. Just tapping will do. Don’t smudge or anything. Add foundation until the whole face is covered and the imperfections are hidden. If a spot is still not well done, just tap on it until it is. Any other moves while applying are unnecessary. Trust me, this technique is very useful and your face will not look like you just swapped something on it.
 image

image


Step 3:
Take your powder and your Kabuki Brush (don’t clean it after using the foundation) and add some powder to the brush. Tap it over your face until you are satisfied with the look and… it’s done.
 image

After this quick procedure you can add your other makeup: blush, eye makeup and such. 
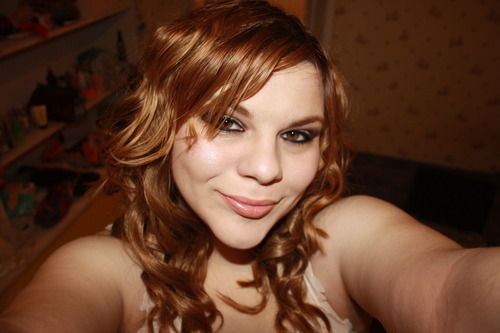
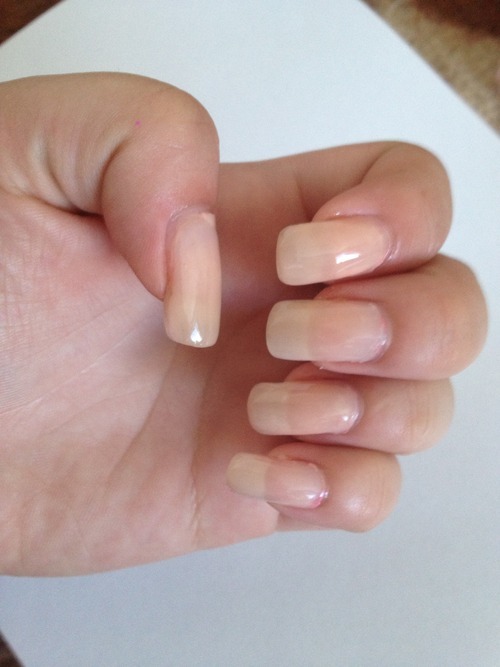
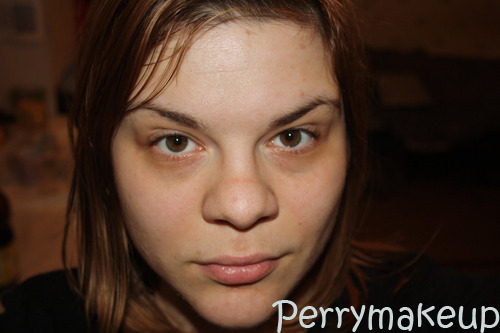
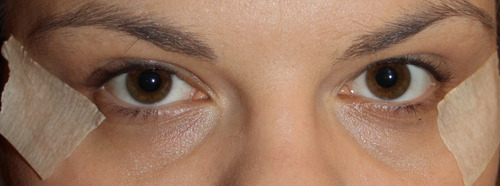
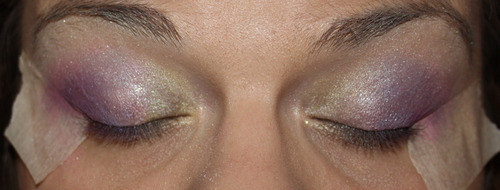
Before: 
image
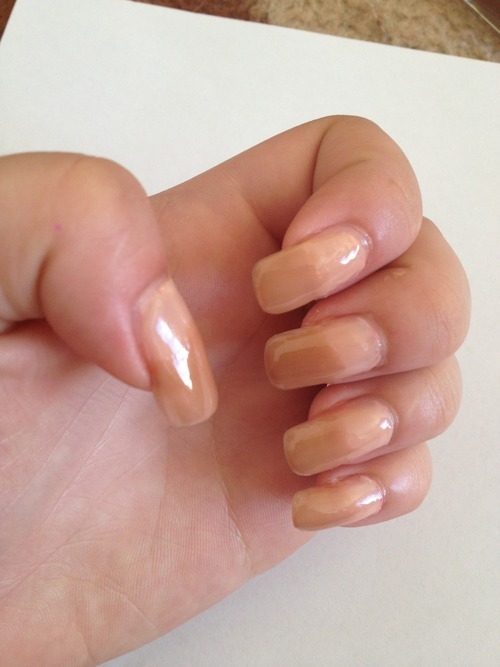
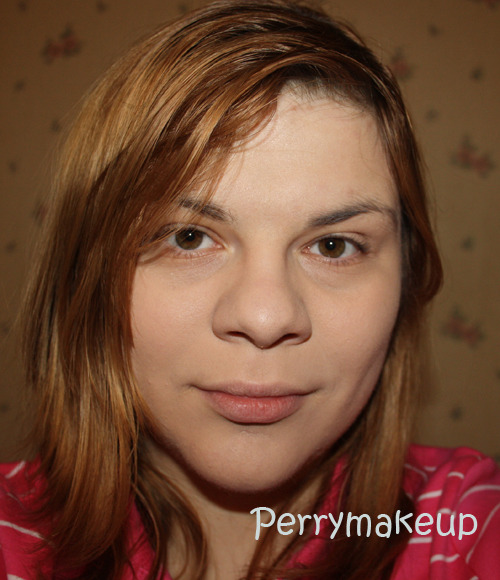
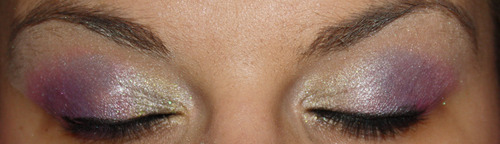
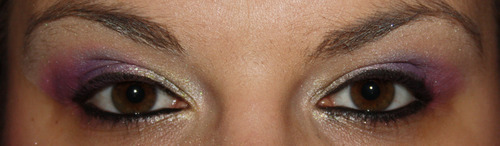
After (please keep in mind that I haven't added any other makeup other than what I've listed in the article):

 image

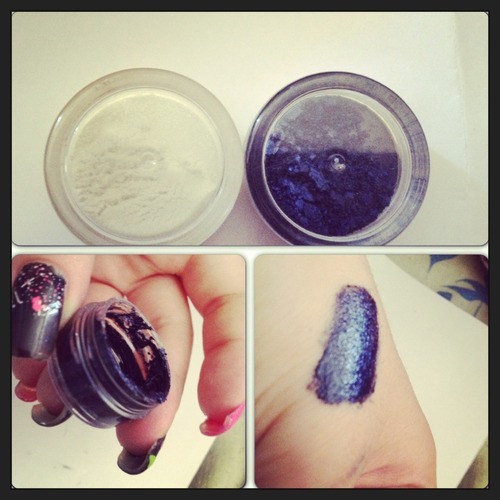
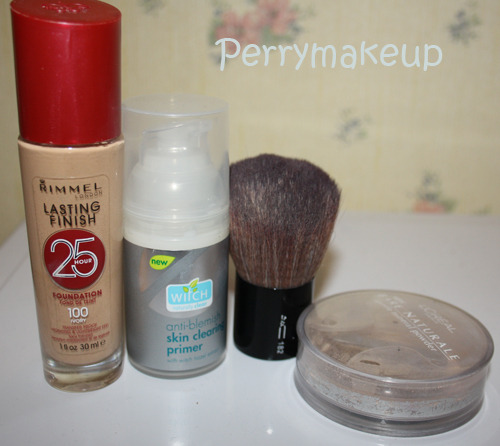
The products I’ve used are:
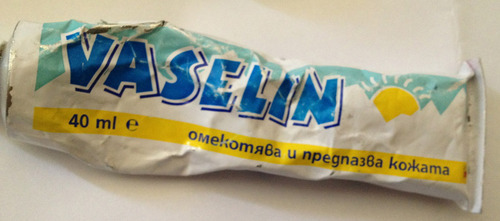
Witch anti-blemish skin clearing primer
Rimmer Lasting Finish 25 hour
L’oreal “Bare natural” gentle mineral powder
Kabuki Brush with no brand :D
image

Enjoy. I hope this article has been useful to you! :) I'll be happy to read your comments and questions on my facebook page:
http://www.facebook.com/pages/MakeupForDummies/422515421135063
:) Thank you for reading. 

Hair revival. My favorite products.

If you are dyeing your hair, if it’s lifeless, damaged from heat treatment, falling out or let’s say it… in a pretty bad shape than you should keep reading.

This article will be about a few products I’ve been using for the past month that helped my hair get back in shape.
It had the usual problems such as getting dirty in no time, damaged from hear treatment. But about two months ago it even started falling out and that scared me a lot.
Probably the reason was also that I’ve been dyeing for almost two years now and let’s face it… that had it’s fair share on my hair.

How did I deal with this problem?

My mother came upon a site/facebook page of a store that is in the town I study in that offers really great hair products: Macadamia Natural Oil. After reading comments and consulting with store we ordered some of the products: for starters the hair revival shampoo and  masque  It also came with a beautiful hair comb and Macadamia Oil.
After a few washes with the shampoo and the masque and my hair stopped falling out so rapidly, it’s not greasy in just a day… it actually lasts for 3 or 4 days. The color of hair is shiny and nice and I’m really happy with the results.

I also have the Macadamia Conditioner. Still haven’t used it since I have some of my old one left, but I’m sure it’s going to be great.
image

 Products:
Macadamia Deep Repair Masque
Macadami Rejuvenating Shampoo
Macadamia moisturizing rinse 
Macadamia oil

As for heat protection I purchased the LAKME K-Style Hot Iron Spray. Great product. I use it before I straighten my hair with the flat iron or decide to curl it. Not only does it protect my hair, but keeps the shape I want it to stay in longer.

 image

I hope this article  was or will be useful to you. I 

All the products here have been bought by me and this is my own personal opinion.
Have a nice week and subscribe to my blog. :)

Cute and fun makeup!

Heeeey, guys! Sorry for the long absence!
Today I’m gonna show you a really quick colorful makeup. It’s pretty easy, takes about 10-15 minutes and you can use it as a fun party makeup.
 Note: Pictures of the eyeshadow used for the makeup.
image

image

Step 1:
I prefer doing my foundation routine first. I’ve showed you how I do this in a previous article. So just check it out if you want to! J

A quick TIP: You can add some sticky tape to get the “cut off” eyeshadow… I don’t really know what’s it called, but I think you’ll get the idea from the pictures.
 image

Step 2:
Put some eye primer on your eyes. It will make the eyeshadow stick better and it also the color of the eye shadow will be a lot stronger and not so pale when applied to your eyes. And last but not least, the eyeshadow will last a lot longer on your eyes with a primer.

So after the primer is applied, take a golden shade of eyeshadow and apply to the inner corner of your eye.
 image

image

Step 3: Take a light blue /sky color blue/ and apply in the middle of the lid. Take a blending brush and blend the golden color with the blue one.
 image

Step 4: Finally pick a matte dark puple color and apply to the end of the lid where the sticky tape it. If you didn’t add sticky tape, just finish it off where you want it to. Also apply just a little over the blue color and blend it all with a blending brush. Remove the sticky tape if you have it.
 image

Step 5: Finally get a white or really light color and blend out with under the arch of the eyebrow. /Yes, I know… mine are not so pretty. Need to fix them fast :D /
 image

image

Step 6: Last you can add eyeliner, eye pencil and mascara.

Add your blush, lipstick and highlighter and you’re ready to go.

What I've used: 

For foundation I’ve used all the products from the article aboutfoundation I posted here.
The eye primer is “Almay bright eyes”.
For the eye pallets I don’t really know. I got them on ebay, so try looking them up there. J

Eyeliner: Maybelline “Eye Studio® Lasting Drama gel eyeliner” 
Hope you liked this. Enjoy and leave comments and question on my facebook page! :))